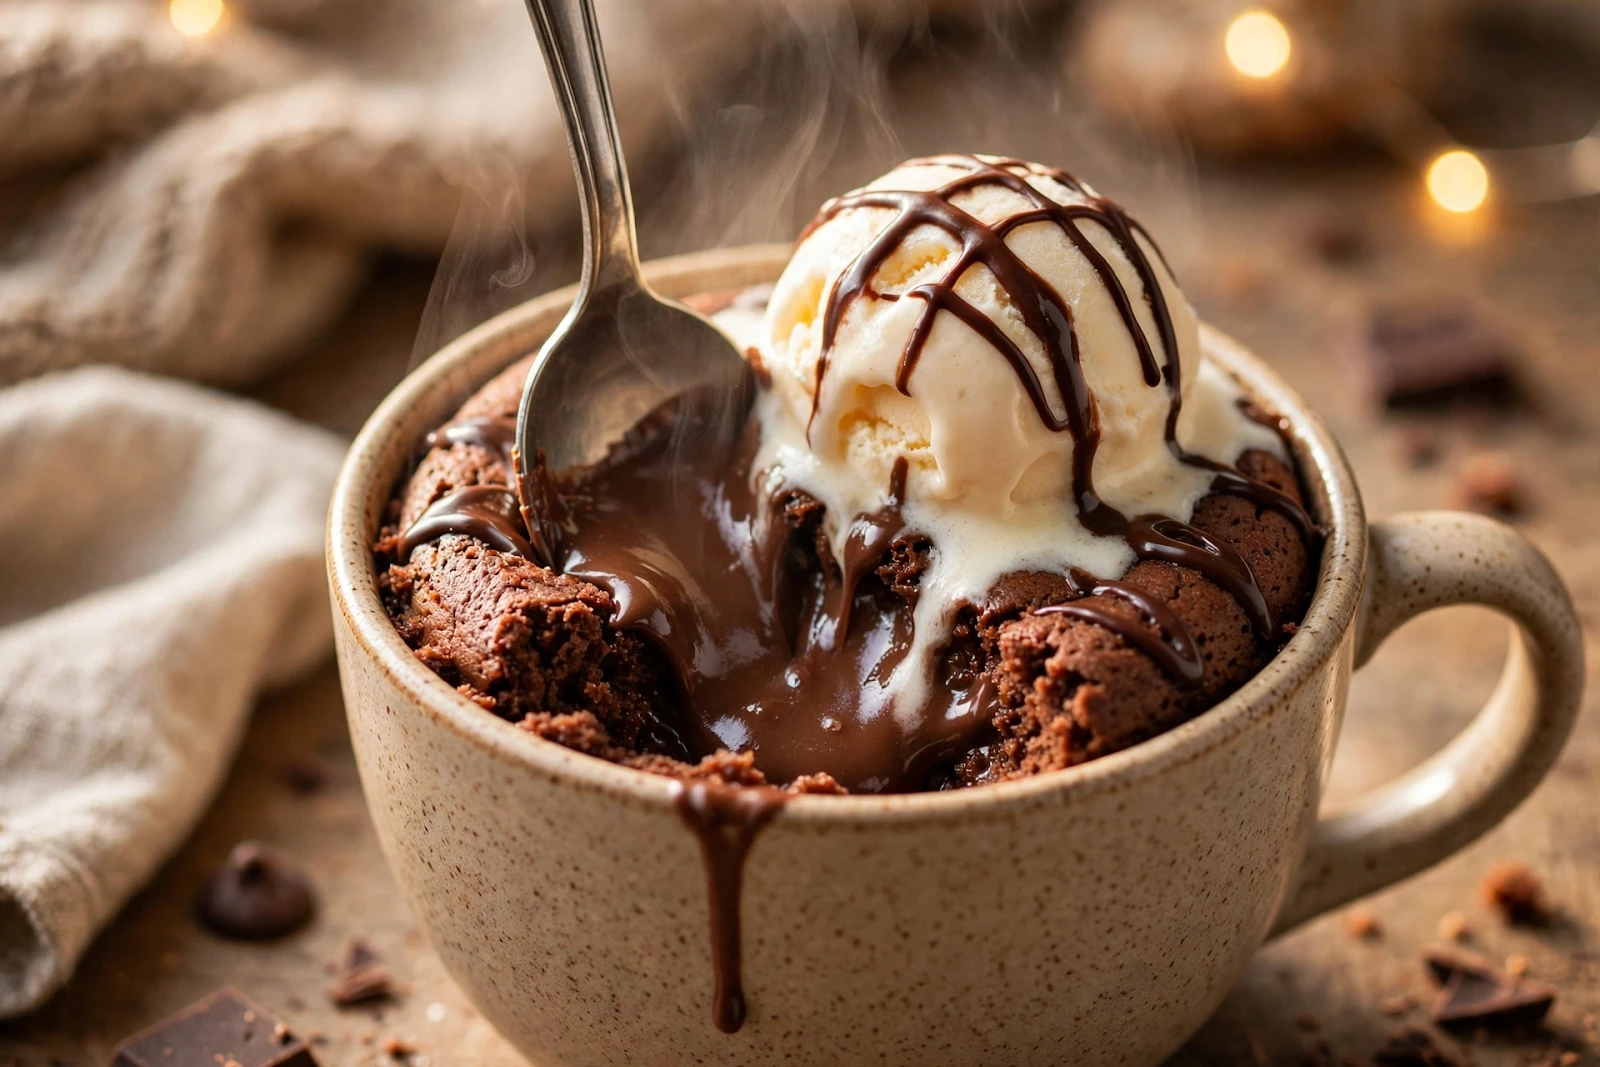
Chocolate mug cake is the answer to a 9 p.m. chocolate craving: one mug, one fork, five minutes, and a warm, gooey cake with a molten center. No oven to preheat, no cake tin to wash, and no leftover cake tempting you all week — just a single perfect serving.
The key is not overcooking it. Microwaves vary, so stop while the top still looks slightly underdone in the center — it sets as it cools, and that soft middle is exactly what makes a mug cake taste like a dessert rather than a sponge.
Five minutes to chocolate cake — warm, gooey, and dangerously easy.
Recipe Info
- Prep time: 3 minutes
- Cook time: 2 minutes
- Total time: 5 minutes
- Servings: 1
- Calories: ~420 kcal per serving
One mug, a handful of pantry staples, and five minutes — that is all it takes.
Ingredients
- 4 tbsp plain flour (30 g)
- 2 tbsp cocoa powder (15 g)
- 3 tbsp sugar (35 g)
- 1/4 tsp baking powder
- Pinch of salt
- 1 egg
- 3 tbsp milk (45 ml)
- 2 tbsp vegetable oil (30 ml)
- 1/2 tsp vanilla extract
- 2 tbsp chocolate chips (30 g), plus extra to sprinkle
- Vanilla ice cream, to serve (optional)
Instructions
- Choose a microwave-safe mug of at least 350 ml — the cake rises high and a small mug will overflow.
- Add the flour, cocoa powder, sugar, baking powder, and salt to the mug. Stir with a fork until evenly mixed and no cocoa lumps remain.
- Add the egg, milk, oil, and vanilla. Stir until you have a smooth batter with no dry flour at the bottom — scrape the corners of the mug.
- Fold in the chocolate chips and sprinkle a few extra on top for a melty finish.
- Microwave on high for 70–90 seconds. The top should look set at the edges but still slightly soft in the center — that softness is the molten middle.
- Rest for 1 minute. The cake continues cooking gently from residual heat, so do not be tempted to add more time straight away.
- Top with vanilla ice cream if you like, and eat warm, straight from the mug.
The molten center is the whole point — dig in while it is still warm.
Tips & Variations
- Know your microwave. Wattages vary widely — start at 70 seconds and add 10 seconds at a time. Overcooked mug cake turns rubbery fast.
- Use a big mug. A 350 ml mug gives the batter room to rise; a small espresso cup will overflow and make a mess.
- Go molten. Push a square of chocolate into the center of the batter before microwaving for an extra-gooey core.
- Make it peanut butter. Swirl a tablespoon of peanut butter through the batter before cooking for a peanut-butter-cup version.
- Skip the egg. Replace the egg with 3 tablespoons of milk plus 1/4 teaspoon of baking powder for an egg-free version — the texture is slightly denser but still good.
- Dress it up. A pinch of flaky salt, a drizzle of chocolate sauce, or a few raspberries turn a midnight snack into a proper dessert.
- Double it carefully. For two mugs, mix a double batch in a bowl, divide it, and microwave the mugs one at a time — microwaving two together cooks unevenly.
Nutrition Note
This is an approximate guide only, not dietary advice. One serving contains roughly 420 kcal, 8 g protein, 20 g fat, and 55 g carbohydrates. It is a treat, not an everyday dessert — enjoy it as an occasional indulgence, and keep portions single-serve by design. Serving it with fresh berries instead of ice cream adds fibre and cuts some of the richness.
Sponsored: see today's deals on recommended kitchen essentials
FAQ
Why did my mug cake turn rubbery?
Almost always overcooking. Microwaves differ, so start at 70 seconds and stop while the center still looks slightly soft — it firms up as it rests.
Can I make mug cake without a microwave?
Yes — bake the batter in an oven-safe ramekin at 180 °C / 350 °F for 12–15 minutes, until the edges are set and the center is still soft.
Can I make it dairy-free?
Yes. Use oat or almond milk, dairy-free chocolate chips, and skip the ice cream or use a dairy-free alternative — the cake itself needs no butter.
How do I store leftover mug cake?
Honestly, it is best eaten warm within minutes. If you must keep it, cover and refrigerate for up to a day, then warm it for 15 seconds — but the gooey center will not fully return.
Can I use self-raising flour?
Yes — use the same amount and simply leave out the baking powder, since self-raising flour already contains it.
Make this chocolate mug cake the next time a chocolate craving strikes at midnight — and tell us in the comments whether you went classic or added a molten chocolate surprise.





Comments
Post a Comment