Homemade chicken ramen is the bowl that turns an ordinary evening into something worth sitting down for: a rich, golden broth built from real chicken and aromatics, springy noodles, tender sliced chicken, and a soft-boiled egg with a jammy yolk that melts into the soup. It tastes like the ramen shop version, but you control the salt, the spice, and the toppings — and the whole pot comes together in about an hour.
The secret is a broth that is treated with respect, not rushed. Simmering bone-in chicken thighs with ginger, garlic, and spring onion whites for 40 minutes gives you a deeply savory base that no instant packet can match, and a quick tare of soy, mirin, and sesame oil seasons it perfectly. This recipe walks you through every step, from the six-and-a-half-minute egg to assembling the bowl, so your first homemade ramen lands exactly right. Let's cook.
Homemade chicken ramen — rich broth, springy noodles, and that jammy egg.
Recipe Info
- Prep time: 20 minutes
- Cook time: 45 minutes
- Total time: 1 hour 5 minutes
- Servings: 4
- Calories: ~560 kcal per serving
The ramen lineup: good chicken, fresh aromatics, and noodles worth seeking out.
Ingredients
- 800 g / 1.8 lb bone-in, skin-on chicken thighs
- 2 L / 8 cups water
- 1 thumb (about 40 g / 1.5 oz) ginger, sliced
- 4 cloves garlic, smashed
- 4 spring onions, whites and greens separated
- 200 g / 7 oz mushrooms, sliced
- 60 ml / 1/4 cup soy sauce
- 2 tbsp mirin
- 1 tbsp sesame oil
- 1 tsp sugar
- 4 portions (about 400 g / 14 oz) fresh or dried ramen noodles
- 4 large eggs, at room temperature
- 2 sheets nori, cut into halves
- Chili oil, to serve
- 1 tbsp neutral oil, for cooking
- Salt, to taste
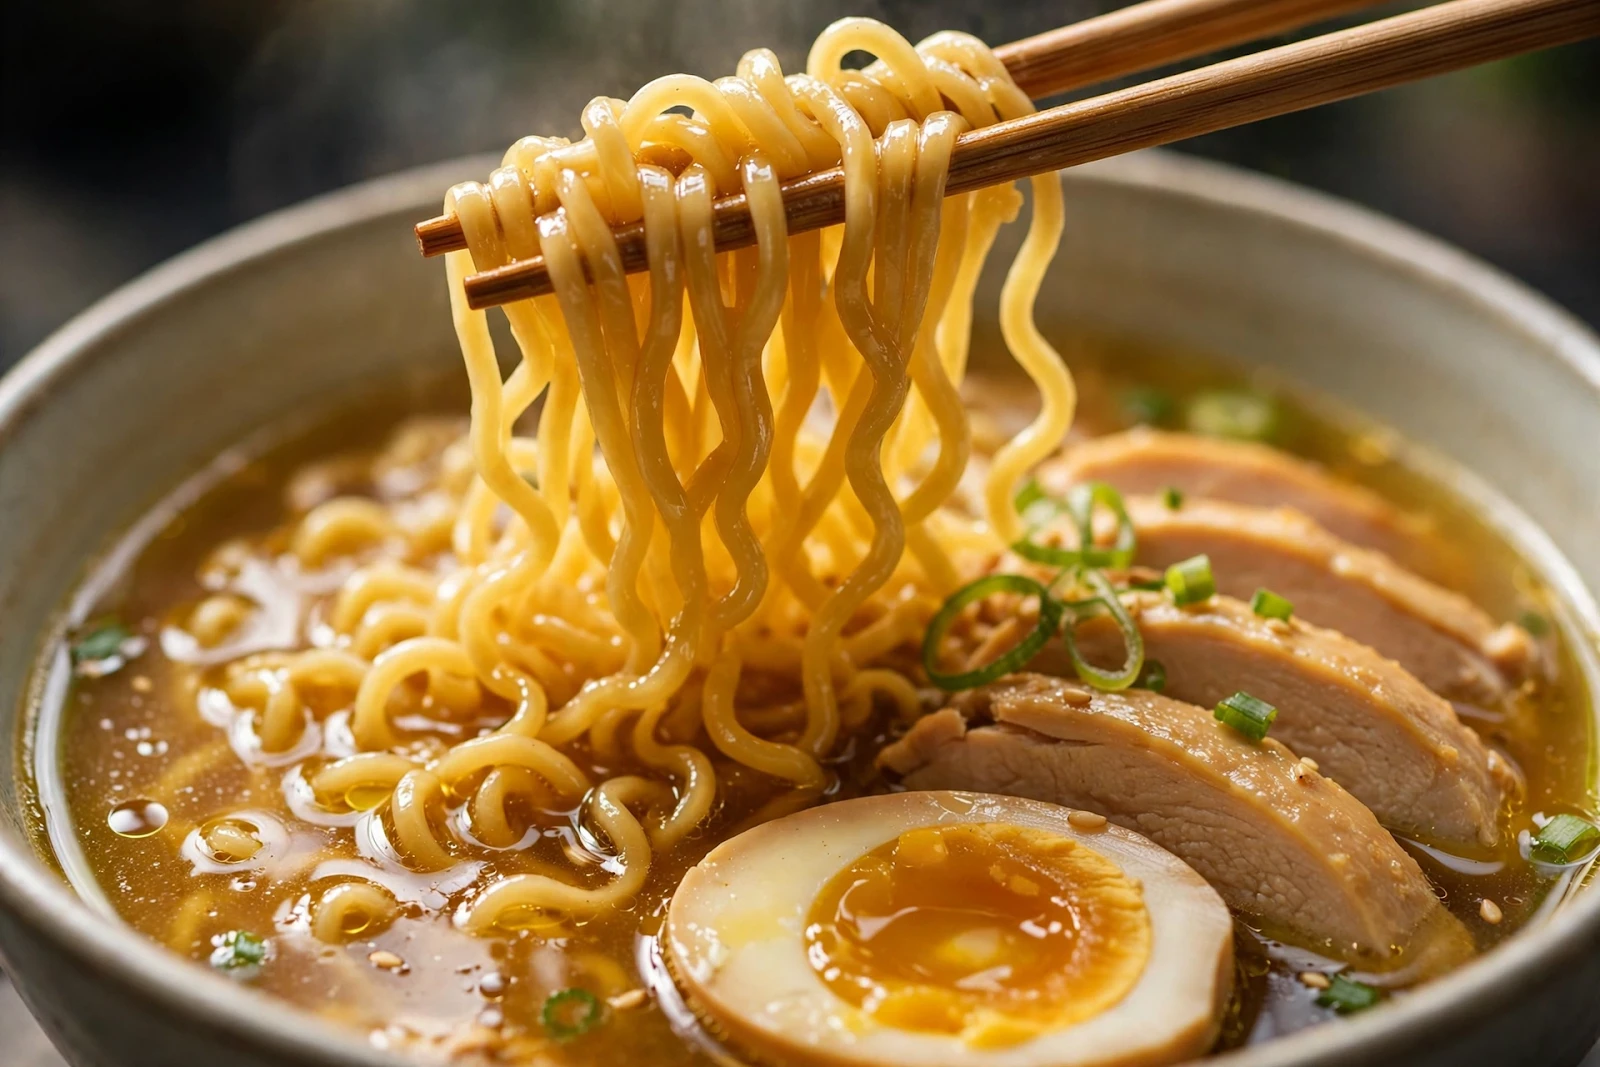
Glossy noodles in golden broth — the moment every ramen lover waits for.
Instructions
- Simmer the broth: Put the chicken thighs, water, ginger, garlic, and spring onion whites in a large pot. Bring to a boil, skim off any foam, then reduce to a gentle simmer, partially covered, for 40 minutes, until the chicken is cooked through and the broth is golden and fragrant.
- Cook the soft eggs: While the broth simmers, lower the room-temperature eggs into boiling water and cook for exactly 6 minutes 30 seconds. Transfer to a bowl of iced water, cool completely, then peel carefully and set aside.
- Shred the chicken: Lift the chicken thighs from the pot and set aside until cool enough to handle. Strain the broth through a fine sieve back into the pot, discarding the aromatics. Remove the skin and bones, and slice or shred the meat.
- Season the broth: Stir the soy sauce, mirin, sesame oil, and sugar into the strained broth. Simmer for 5 minutes, then taste and adjust with salt — the broth should be savory and well-rounded, slightly stronger than you think, since the noodles will dilute it.
- Cook the mushrooms and noodles: Heat the neutral oil in a small pan and sauté the mushrooms over high heat for 4–5 minutes until browned; set aside. Cook the ramen noodles in a separate pot of unsalted boiling water according to the packet (usually 2–3 minutes for fresh, 3–4 for dried), then drain well.
- Marinate the eggs (optional but worth it): If you have 10 minutes, halve the peeled eggs and spoon a little of the hot seasoned broth over them while you finish — it warms them through and seasons the yolk edges beautifully.
- Assemble the bowls: Divide the noodles among 4 deep bowls. Ladle over the hot broth, then top with sliced chicken, mushrooms, halved soft eggs, spring onion greens, and a half-sheet of nori. Serve immediately with chili oil on the side.
Tips & Variations
- The egg timing matters. Six minutes 30 seconds at a rolling boil gives a jammy, just-set yolk for large eggs. If your eggs are fridge-cold, add 30 seconds; if small, subtract 30 seconds.
- Never cook noodles in the broth. Noodle starch clouds the broth and dulls its flavor. Always cook noodles separately and add them to the bowl just before serving.
- Make the broth ahead. The strained, seasoned broth keeps 3 days in the fridge or 3 months in the freezer. Reheat gently and cook fresh noodles and eggs on serving day.
- Spicy tantan-style twist: Stir 2 tablespoons of chili oil and 1 tablespoon of peanut butter into the broth for a rich, spicy variation, and top with chili crisp.
- Vegetable boost: Add a handful of baby spinach, sweetcorn, or blanched bean sprouts to each bowl — they wilt instantly in the hot broth.
- Ajitama upgrade: For true ramen-shop eggs, marinate peeled soft eggs overnight in a mix of 60 ml / 1/4 cup soy sauce, 60 ml / 1/4 cup mirin, and 120 ml / 1/2 cup water. They keep 3 days refrigerated.
- Freezing: Freeze only the broth and shredded chicken together; noodles and eggs do not freeze well. Thaw overnight in the fridge before reheating.
Nutrition Note
This is an approximate guide only, not dietary advice. One serving contains roughly 560 kcal, 42 g protein, 20 g fat, and 52 g carbohydrates. The broth-based soup, lean chicken, and egg make it a satisfying, protein-rich meal — go easy on the chili oil and keep the noodle portion moderate if you want a lighter bowl.
Sponsored: see today's deals on recommended kitchen essentials
FAQ
Can I use chicken breast instead of thighs?
You can, but thighs give a richer broth and stay juicy after simmering. If you use breast, poach it gently for just 15–20 minutes, remove it as soon as it reaches 74°C / 165°F, and let the broth continue simmering without it.
Why is my broth bland?
Usually under-seasoning or too much water. Taste the broth before adding noodles — it should taste slightly too salty on its own. A splash more soy sauce, a pinch of sugar, and the sesame oil at the end make a big difference.
Can I use instant ramen noodles?
Yes — use only the noodle block and discard the seasoning packet. Cook the noodles separately as directed, drain well, and build your bowl with the homemade broth. The result is dramatically better than the packet soup.
How do I peel soft eggs without tearing them?
Cool them fully in iced water, then crack and peel under running water, starting from the wider end where the air pocket sits. Room-temperature eggs and a full ice bath are the two tricks that matter most.
Can I make this ramen gluten-free?
Swap the wheat noodles for rice noodles and use tamari instead of soy sauce. Check that your mirin and chili oil are gluten-free too — most are, but labels vary.
Rich broth, springy noodles, and an egg worth showing off — this homemade chicken ramen is comfort in a bowl. Have you tried this recipe? Tell us in the comments below, and save this recipe for your next cozy night in!





Comments
Post a Comment