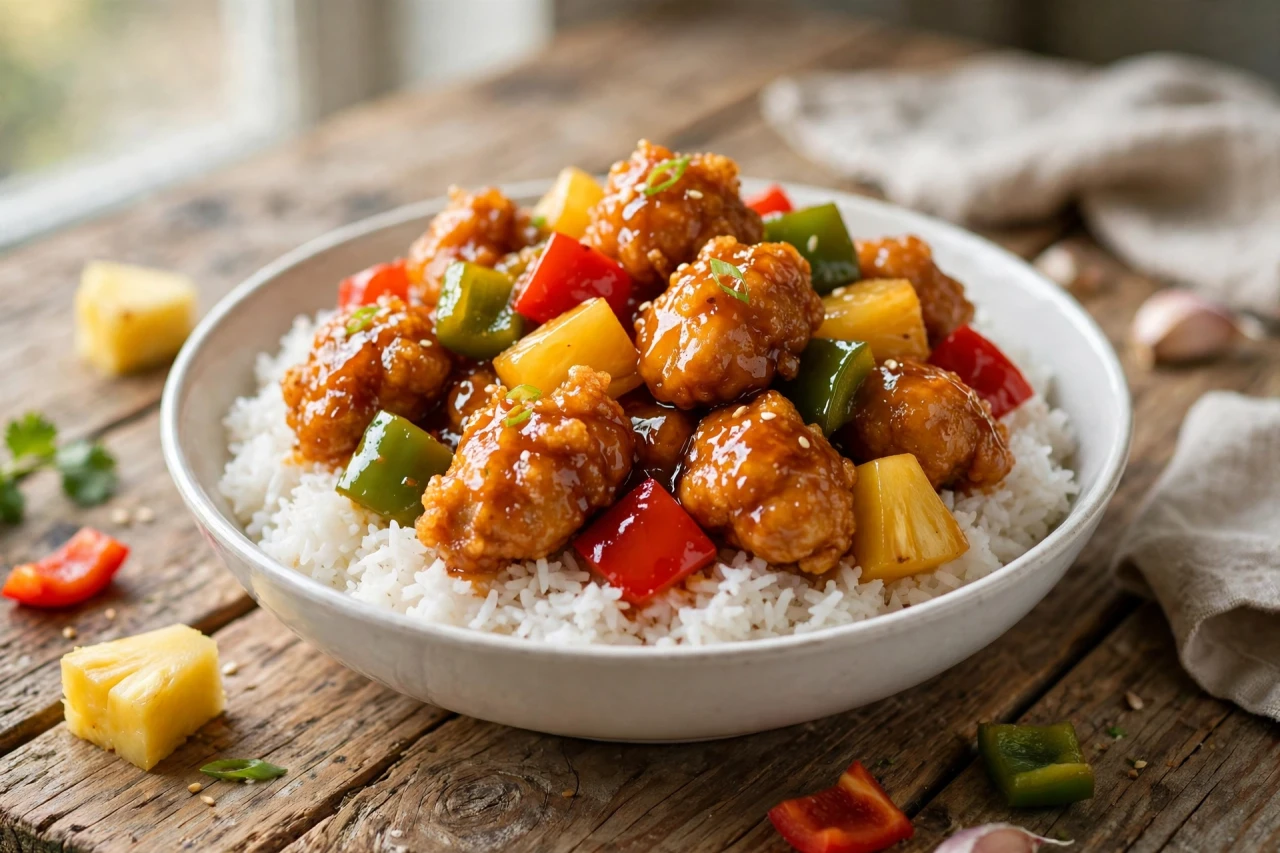
Sweet and sour chicken is the takeout classic everyone orders — and it's shockingly easy to beat at home. Golden, crispy chicken bites get tossed in a glossy homemade glaze with crunchy bell peppers, sweet pineapple, and onion, landing that perfect tangy-sweet balance no delivery box can match.
The secret is frying the chicken fresh and adding it to the sauce at the very last second. That way the coating stays shatteringly crisp under the shiny glaze instead of going soggy. Thirty minutes, one wok or large skillet, and dinner tastes like your favorite restaurant night — minus the wait.
Golden, glossy, and better than takeout — ready in 30 minutes.
Recipe Info
- Prep time: 15 minutes
- Cook time: 15 minutes
- Total time: 30 minutes
- Servings: 4 servings
- Calories: approx. 480 kcal per serving
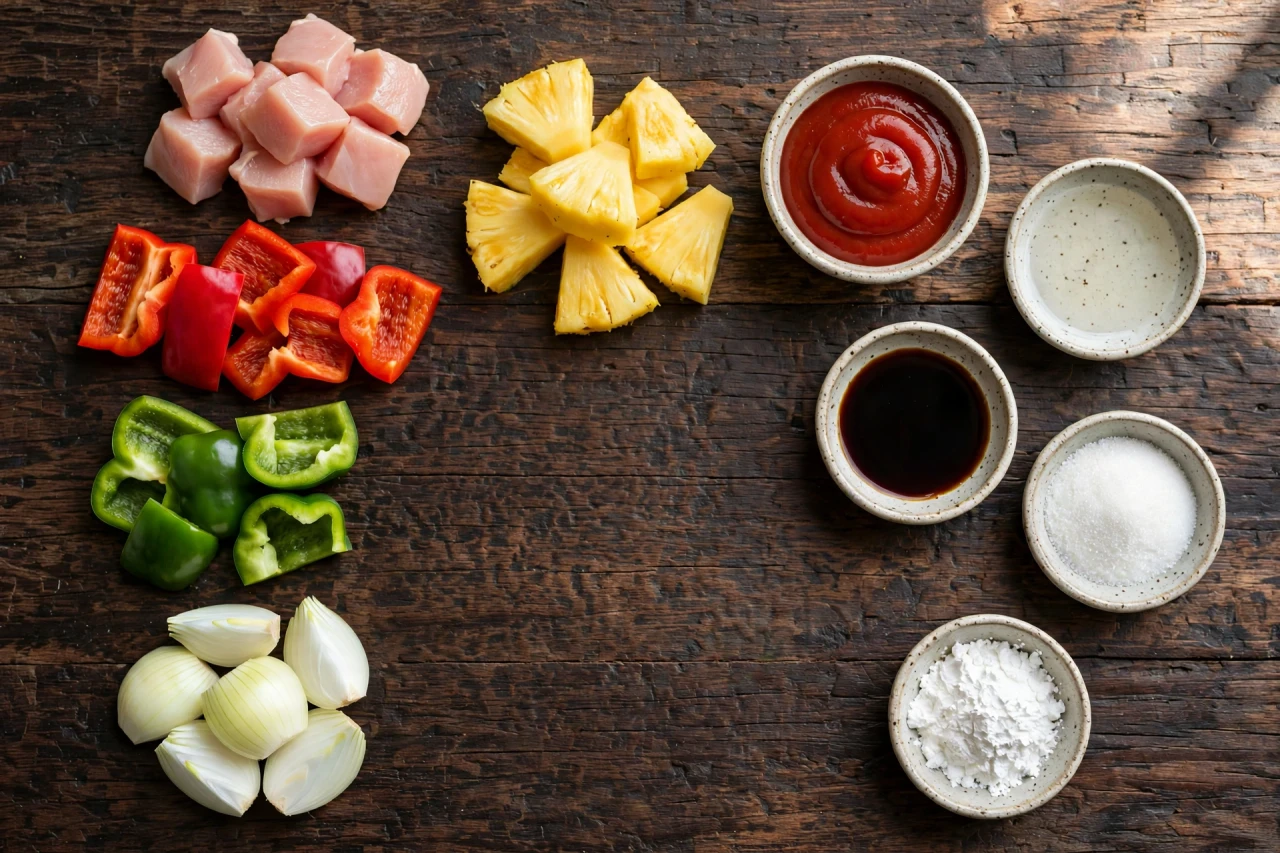
Simple pantry staples plus fresh peppers and pineapple.
Ingredients
- For the crispy chicken:
- 600 g (1⅓ lb) boneless, skinless chicken breast, cut into 2.5 cm (1 in) cubes
- 1 tbsp soy sauce
- 1 tsp sesame oil
- ½ tsp salt
- ¼ tsp white pepper
- 1 large egg, beaten
- 80 g (½ cup + 2 tbsp) cornstarch
- 60 g (½ cup) all-purpose flour
- Neutral oil for shallow frying (about 240 ml / 1 cup)
- For the sweet and sour sauce:
- 80 ml (⅓ cup) ketchup
- 60 ml (¼ cup) rice vinegar
- 60 g (¼ cup) sugar
- 2 tbsp soy sauce
- 120 ml (½ cup) chicken stock or water
- 1 tbsp cornstarch mixed with 60 ml (¼ cup) cold water (slurry)
- For the stir-fry:
- 1 tbsp neutral oil
- 2 cloves garlic, minced
- 1 tsp fresh ginger, grated
- 1 medium red bell pepper, cut into 2.5 cm (1 in) chunks
- 1 medium green bell pepper, cut into 2.5 cm (1 in) chunks
- 1 medium onion, cut into wedges
- 200 g (1 cup) pineapple chunks, fresh or canned and drained
- Steamed jasmine rice, to serve
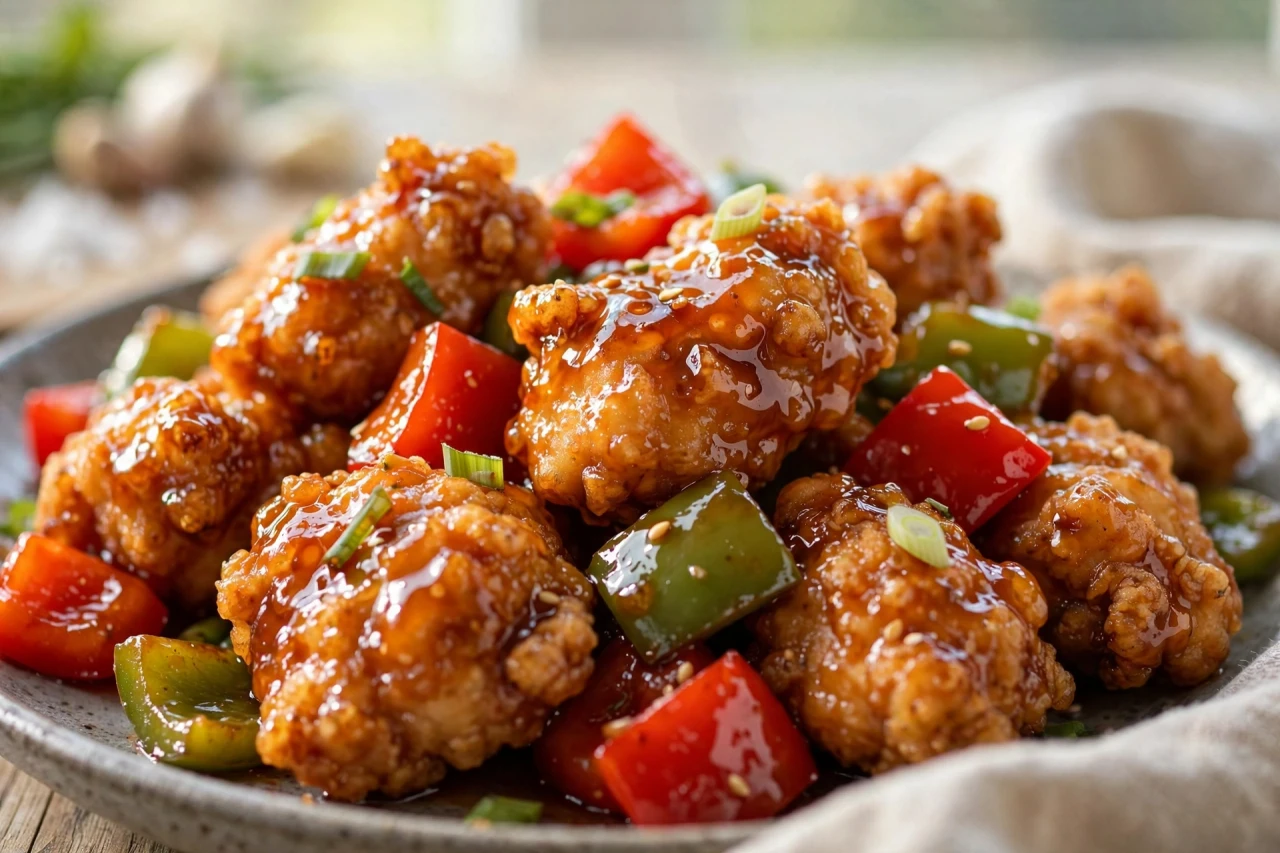
That sticky shine is the cornstarch slurry doing its magic.
Instructions
- Marinate the chicken. In a bowl, toss the chicken cubes with the soy sauce, sesame oil, salt, and white pepper. Let sit for 10 minutes while you prep everything else — this short marinade seasons the meat all the way through.
- Coat and fry. Stir the beaten egg into the marinated chicken, then dredge the pieces in a mix of the cornstarch and flour, shaking off the excess. Heat the oil in a large skillet or wok over medium-high heat and fry the chicken in two batches, 4–5 minutes per batch, until deep golden and crisp. Drain on a wire rack or paper towels.
- Mix the sauce. While the chicken fries, whisk together the ketchup, rice vinegar, sugar, soy sauce, and chicken stock in a bowl. Keep the cornstarch slurry nearby — you'll use it at the end.
- Stir-fry the vegetables. Wipe out the pan, add 1 tbsp oil, and stir-fry the garlic and ginger for 20 seconds. Add the bell peppers and onion wedges and stir-fry 2–3 minutes — they should stay bright and crisp, not soft.
- Build the glaze. Pour the sauce mixture into the pan with the vegetables and bring to a simmer. Stir in the pineapple chunks, then drizzle in the cornstarch slurry while stirring until the sauce turns glossy and thick enough to coat a spoon, about 1–2 minutes.
- Toss and serve. Add the fried chicken to the pan and toss quickly — just 30 seconds — so every piece gets glazed while staying crisp. Serve immediately over steamed jasmine rice.
- Leftovers. Store leftovers in an airtight container in the fridge up to 3 days. Reheat in a hot skillet to revive some of the crispness; the microwave will soften the coating.
Tips & Variations
- Fry in batches: Crowding the pan drops the oil temperature and steams the chicken instead of crisping it. Two roomy batches give you the golden crunch this dish needs.
- Keep the coating dry: Shake off excess dredge before frying — a thin, even coating fries up crisper than a thick, doughy one.
- Sauce last, always: The chicken goes into the sauce for 30 seconds max. Tossed too early, it soaks up sauce and loses its crunch before it hits the plate.
- Adjust the tang: Love it sharp? Add an extra tablespoon of rice vinegar. Prefer it sweeter? Add a tablespoon more sugar. Taste the sauce before it thickens and tune it to your palate.
- Swap the protein: This exact sauce and method work beautifully with pork tenderloin cubes, shrimp, or firm tofu for a vegetarian version.
- Add more crunch: A handful of toasted cashews or sliced water chestnuts tossed in at the end adds a lovely textural contrast.
- Make it lighter: Skip the deep fry and air-fry the coated chicken at 200°C (400°F) for 12–14 minutes, flipping once — still crisp, far less oil.
Nutrition Note
At roughly 480 kcal per serving, sweet and sour chicken sits squarely in hearty-dinner territory — the frying oil and the sugar in the sauce do most of the work. To lighten it, air-fry the chicken, halve the sugar (the pineapple adds natural sweetness), and load up on extra peppers and onion. One honest plate is a fine dinner; just don't mistake it for health food.
Sponsored: see today's deals on recommended kitchen essentials
FAQ
How do I keep the chicken crispy in sweet and sour sauce?
Fry it fresh, drain it well, and toss it with the hot sauce for only 30 seconds right before serving. The sauce should be thick and glossy — a thin sauce soaks in and softens the coating.
Can I use chicken thighs instead of breast?
Yes — thighs are juicier and more forgiving. Use the same 600 g (1⅓ lb) of boneless, skinless thighs cut into chunks, and fry them about a minute longer per batch.
Why is my sauce not thick and glossy?
It needs the cornstarch slurry and a full simmer. Drizzle the slurry in while the sauce bubbles and stir — it should coat a spoon within 1–2 minutes. If it's still thin, add a touch more slurry.
Can I make sweet and sour chicken ahead?
Partially. Fry the chicken and make the sauce up to a day ahead, storing them separately. Reheat the sauce, crisp the chicken in a hot oven, then toss together just before serving.
Is fresh or canned pineapple better?
Fresh pineapple is brighter and less sweet, but well-drained canned chunks work perfectly and save time. Just drain them thoroughly so excess juice doesn't thin the sauce.
This sweet and sour chicken brings the takeout magic home — crispy golden bites, crunchy peppers, and a glaze that shines. Once you taste how fast it comes together, delivery might start feeling like a compromise. Made it? Drop a comment below and tell us how crispy yours turned out!




Comments
Post a Comment